Header graphic: symbolic image - shortcuts for Windows Explorer with Explorer icon and mini keyboard for Ctrl+C and Ctrl+V

10 Windows Explorer shortcuts for quick file management and cloud DAM preparation

Reading time: 8 Minuten

Table of contents

Media files do not find their way into the cloud on their own. First of all, it must be decided which content should receive this privilege. The format in which the digital assets are to be imported must then be determined. Although most media files can also be processed by a DAM system in their raw state, this does not mean that this is always useful.

Speaking of DAM (digital asset management): this may sound new to you, but it’s just another name for the professional management of media such as photos, videos or illustrations. Nowadays, this is almost invariably done in the cloud, as this is more cost-effective, more sustainable and no less secure than on-premises hosting.

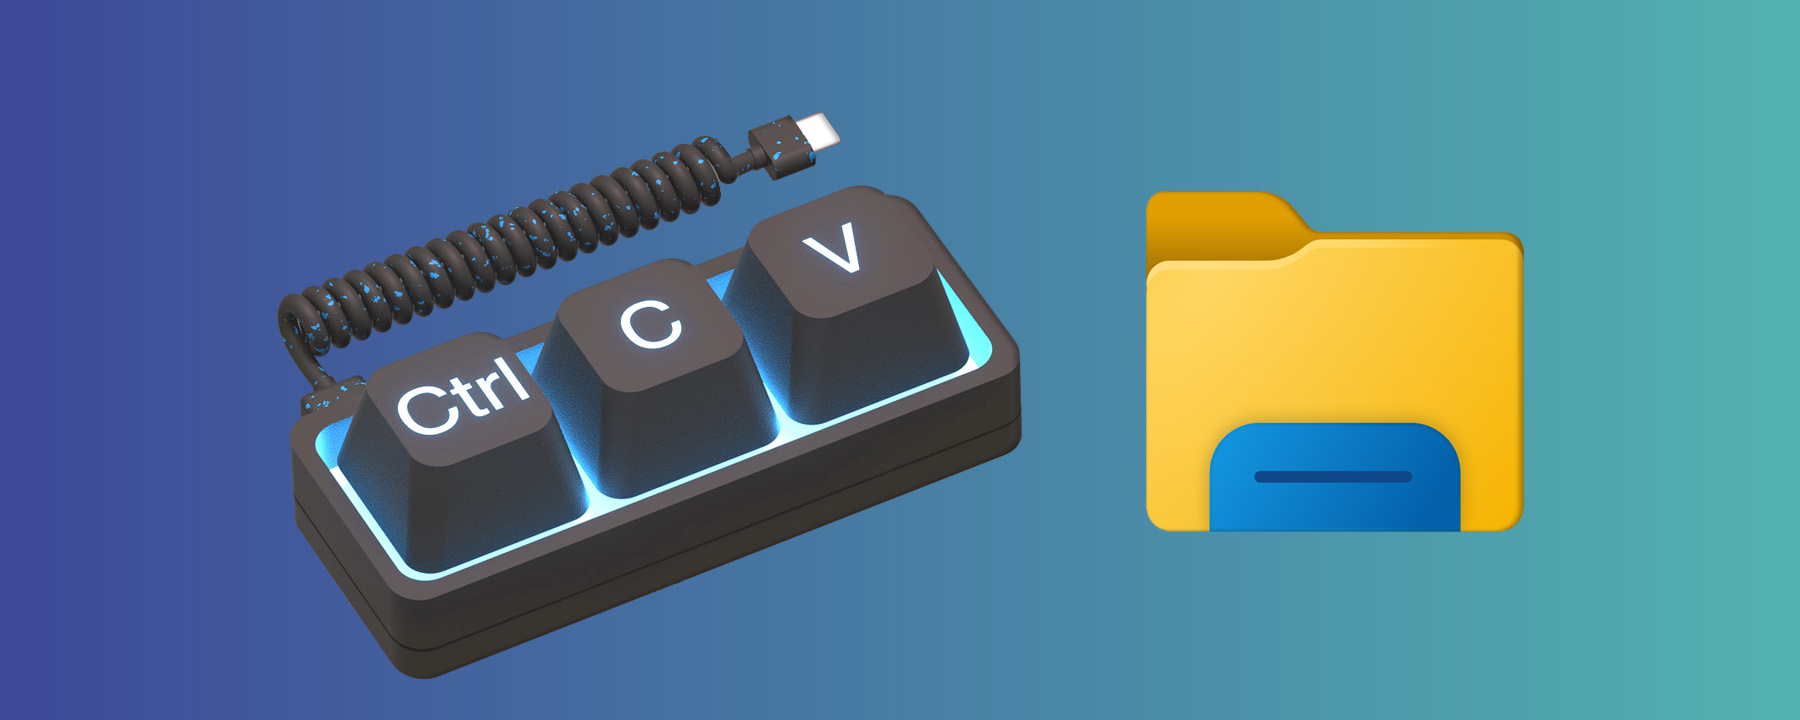
However, this article is not about the cloud itself. We will focus on the pre-upload processes and provide you with 10 practical tips and tricks that will help you to make file preparation as efficient as possible. Our focus is on the Windows environment and in particular on the File Explorer – the most widely used file manager in the world. However, many of these points can also be applied to other file managers.

1. Filter files by type

Use the search function in Windows Explorer to filter files by type. For example, enter *.jpg in the search field to display only JPEG files. You can combine several types by entering e.g. *.jpg OR *.png.

This method allows you to quickly find all files of a specific type in a folder or directory tree. This is particularly useful if you want to make sure that all files of the correct format are present before uploading or if you want to rename or move files of certain types.

2. Quick renaming of files

Select any number of files in the Explorer, press F2, enter a new name and press Enter.

All files will now be renamed sequentially, e.g. filename (1).jpg, filename (2).jpg, etc.

This method saves time and ensures uniform file names, which makes it easier to organize and find the files later.

3. Quick renaming of file extensions

Use the command prompt to change the file extensions of files within a folder (e.g. from jpeg to jpg).

    • Use Explorer to open the folder containing the files.
    • Click in the address bar and enter cmd. Press Enter.
    • The prompt opens in a new window.
    • Now enter the following command and press Enter: ren *.jpeg *.jpg

That’s it already. All relevant endings have been replaced according to the input. Test question: If you wanted to change all files with the extension tiff to tif, for example, what would the command be? *

The batch procedure described above is simple and efficient. You will never again be tempted to change file extensions such as tiff manually. However, it must be said that longer file extensions are only a cosmetic flaw. Unless you are still using Windows 3.1, DOS or even Atari TOS ;)

* Exactly: ren *.tiff *.tif

4. Group files in folders

You can use the grouping function in Explorer to efficiently sort your files by type, date, size or other properties. Simply right-click on a free area in the Explorer window and select Group by from the context menu. You can then select the desired option.

Grouping files helps you to keep an overview and makes it easier to find files quickly, especially with large amounts of data.

5. Quickly select files with the Shift or Ctrl key

Use the Shift key to select several files at the same time: click on the first file, hold down the Shift key and click on the last file to select all files in between. You can use the Ctrl key to select any files by holding down the key and clicking on the desired files.

Tip: Ctrl + A selects all files and folders in the current directory.

These methods make it easier to select files, which is very useful when you need to organize large amounts of files.

6. Fast copying and moving of files

Use drag and drop to quickly move or copy files:

  • Between different drives: files are copied by default. Hold down the Shift key while dragging to move the files instead.
  • Within the same drive: files are moved by default. Hold down the Ctrl key while dragging to copy the files instead.

These methods ensure greater efficiency by avoiding unwanted copying or deletion processes.

7. Direct deletion of files

If you want to delete selected files permanently, i.e. without a recycle bin backup, you can use the key combination Shift + Del (Shift plus Delete).

This method deletes the files directly. The intermediate step via the recycle bin is bypassed. Please note, however, that permanently deleted files can only be restored using special tools – and only if the corresponding memory areas have not yet been overwritten.

8. Use of keyboard shortcuts for quick access

    • Windows + E: opens the file explorer.
    • Alt + P: shows or hides the preview window.
    • Alt + Enter: shows the properties of the selected file.
    • F2: renaming of selected files or folders.
    • Ctrl + Shift + N: creates a new folder.
    • Ctrl + N: opens a new Explorer window.
    • Ctrl + W: closes the current Explorer window.
    • F3 or Ctrl + F: opens the search bar to search the current directory.
    • Ctrl + Z: reverts the last action (e.g. an accidentally moved file).
    • Ctrl + Y: repeats the last undone action.

9. Quick access to frequently used folders

To quickly access a frequently used folder, right-click on the folder and select Pin to Quick Access. This will pin the folder to the left sidebar, making it accessible with a single click from anywhere in the File Explorer.

Example: If you regularly access a folder called “Projects” that is saved in a subdirectory of your drive, you can use this shortcut to open the folder directly from the sidebar. You no longer have to click through multiple subdirectories.

This method significantly speeds up navigation and file management, as your most frequently used folders are always within easy reach.

10. Display and check metadata

Right-click on a file and select Properties. You can now view various metadata in the Details tab. These may have been generated via device firmware (cameras, scanners) at the time of creation or subsequently. The first category includes technical data such as time of recording, device manufacturer, GPS coordinates, resolution, color display. The second category includes documentary information such as title, author, copyright, etc. Now check whether:

    • there is sensitive metadata that you do not want to know in the cloud, e.g. GPS data, timestamps or device data.
    • texts are displayed correctly. If umlauts and other special characters are corrupted or garbled, this indicates incorrect encoding (UTF-8 is usually the right choice).

With the teamnext | Media Hub, you can also repair, manipulate or remove metadata after uploading. However, this does not apply to all DAM systems. In this respect, you may need to familiarize yourself with metadata tools such as Exif Pilot or ExifTool at this point (technical expertise required).

Conclusion

Expert use of Windows Explorer speeds up the structuring of files and folders and facilitates organization and navigation. The tips and tricks presented here also support the efficient preparation of files for uploading to cloud-based DAM systems.

By applying these methods in a targeted manner, you not only optimize your workflow, but also avoid potential errors such as inappropriate file formats, inconsistent file names or accidentally uploading sensitive metadata. This ensures that your digital assets are optimally prepared and securely integrated into the cloud.

Test the teamnext | Media Hub

Are you curious about the many functions of our Media Hub? Make an appointment today for an individual online demo with one of our experts. You will then have the opportunity to try out the Media Hub for yourself during a free 14-day trial period.

For further information, please do not hesitate to contact us personally. You can find our contact details at teamnext.com/en/contact.

You might also be interested in

Header graphic: field sizes and camera angles - Astronaut Buzz Aldrin with US flag on the moon, various image sections
Header image with various live moments from sports events, symbol image AI-based content delivery
mockup with basketball player on smartphone - symbolic image for short-form media orchestration